Showing posts with label cooking techniques and science. Show all posts

Sunday, November 27, 2005

Arroz Negro (Black Rice) and a new Apartment

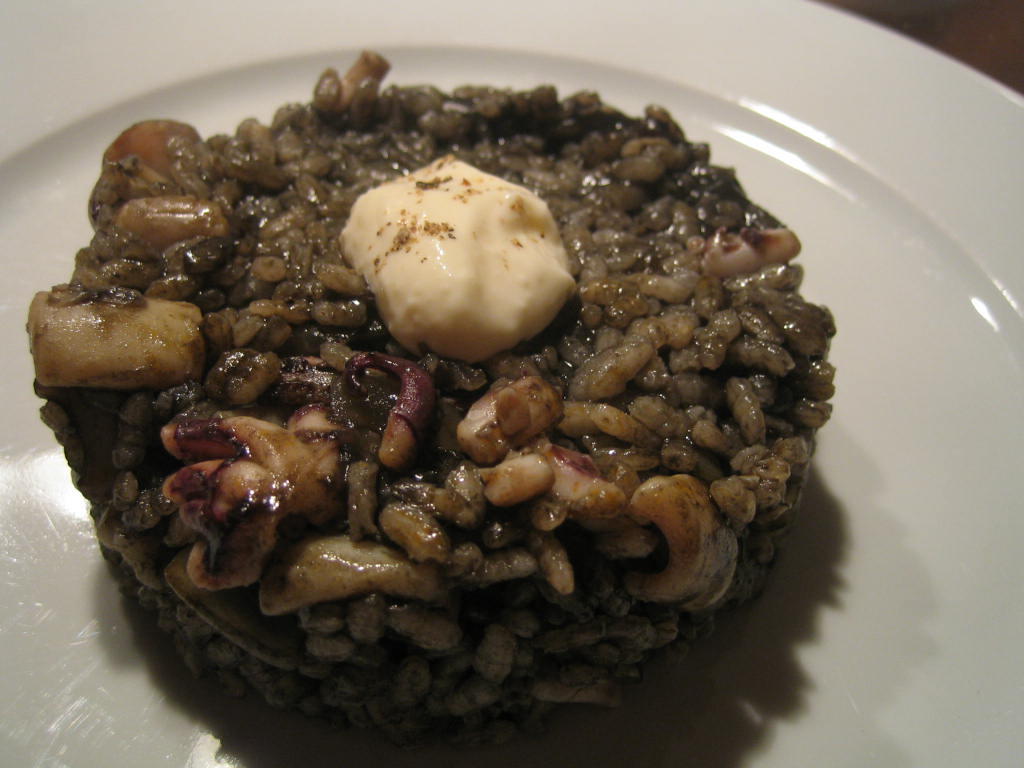
Arroz Negro (Black Rice with Calamari)

arroz negro
27-Nov-2005 Steve: This blog was written exactly a month ago. Despite the popularity of the dish I had been unable to answer a question that had occurred during the research into Calamar. Finally, yesterday, after unpacking Blanca's cookbooks from London, we found the answer and I could complete the recipe. Read on...

27-Oct-2005 Steve: It has been over a month, but we cooked last night for the first time in our new flat in Granada. In this blog I would like to acknowledge the contribution of various people and professions across the province of Granada to this inaugural meal:

- el notario – the town notary in Guadix
- el estanco – the newspaper stand
- el ayuntamiento – the town hall
- la dueña – the landlord
- la policía – the police
- el banco y el director de la sucursal – the bank and bank manager
- los padres – parents
- los tíos y primos – uncles, aunts and cousins
- el taller – the garage
- el portero – the porter
- la churrería – the churros restaurant
- el fontanero – the plumber
- el toldero – the awning guys
- las mudanzas – the removal company
- muebles morino – the useless kitchen fitters
- el electricista – the electrician
- el pintor – the painter
- la ferretería – the hardware store
- el tapicero – the upholsterer
- el corte inglés – supermarket where we bought the food
- and last, but by no means the least important… el butanero – the gas delivery man

As it was the first night, we wanted to cook something traditional. As we were completely wrecked, we also wanted to cook something simple. Blancs suggested arroz negro. This is a typical Spanish dish, originally from Barcelona and Valencia. With my newfound residence, strictly speaking, I should be boycotting Catalan recipes, but I'm Irish and, more importantly, people have been known to call this the "most delicious rice preparations ever invented"*. Simply put it is paella made with calamar, dyed with its own ink.
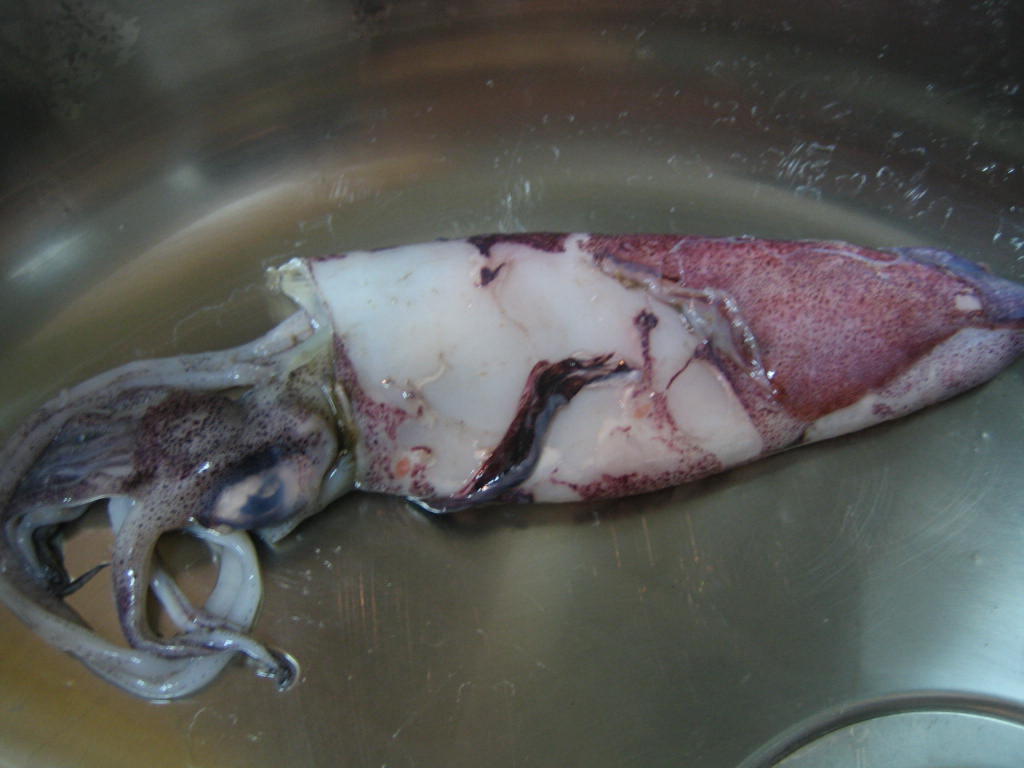
dirty calamari
We did the shopping in El Corte Inglés, Blanca left me at the pescadería (fish counter). I managed to navigate my way to buying 3 medium calamar (calamari is Italian). I was quite happy with myself until later when she realised that I hadn’t asked for cleaned ones. Nevertheless, an unexpected techniques session came out of my mis-procurement… how to clean the calamari. This is the technique that Blancs learnt in Blagdens in London.

1. Calamari are shellfish; part of the molluscs family, as distinct from the crustacean decapods. They are cephalopods, meaning ‘head-foot’, mainly due to the proximity of their head and feet. Their sub-family is shared with squid, octopus and cuttlefish. They are the most advanced molluscs and, unlike the rest, they don’t have shells. The ink is used to evade capture… humans have a more mundane use in that it forms colour and flavour for this dish in particular.


2. The cleaning process focuses on the various parts of the body. First you must reach into the head and remove the transparent cartilaginous shield from inside the body. This is the spine and is particular to squid and calamari, the octopus doesn’t have any.
3. Grasp the tentacles and pull firmly to remove. Squid and cuttlefish have 8 ‘arms’ and 2 tentacles. Octopus has 8 tentacles. Note: both Spanish and Catalans have 2 arms and 2 legs.
4. Rinse the body and discard the purplish-black membrane. Calamari have long triangular flaps running along side the body, these are located at the narrow end of the body, cut these off, but save to eat.
5. To ensure that the head is fully clean, wash it inside out.

the beak
6. Next prepare the tentacles. Press the bunch away from you, the 'beak' will pop out. Pull away and discard. Be careful as this can cut you. I innocently thought the beak was something to do with the nose of the fish, I have since learnt it is the anus. I'm not sure how I feel about this.
7. Cut the tentacles just below the ink sac (visible as a purple bulge). Discard the remaining part.


Ingredients (for 2):
3 medium calamari
1 sack of ink (best frozen)
3 tbsp white wine
½ onion chopped
2 garlic cloves crushed
1 cup of medium-grain rice
3 ½ cups of warm fish stock (depends on the rice type)
1 tbsp olive oil
Salt and pepper to season


The following recipe is, as mentioned above, one that works. It is taken from Penelope Casas's "The Food and Wines of Spain". Heat a pan with oil over the flame. We used a wide, flat paella pan as the cooking method is principally about leaving the rice to settle and absorb the stock rather than stir like a risotto. Add the onion and cook until translucent. Add the squid and sauté 5 minutes. Add the garlic and cook for a moment. Cover and simmer for 30 minutes.

Add the stock (boiling hot) and rice and stir in the ink and wine. Note, ink is most easily used frozen as it is less likely to stain. Season with salt and pepper. Cooking times vary depending on the rice. We were cooking with Arroz Bomba de Calasparra, this is a medium grain rice from near Murcia. Bring to the boil and cook over a medium high heat, uncovered and stirring occasionaly, for 10 minutes until the rice is no longer soupy, but some moisture remains.

Transfer to a 160C oven. Bake 15 minutes, uncovered until the liquid is absorbed, but the rice not yet done. Remove from the oven, cover lightly with foil and let sit for 10 minutes. It is then ready to eat.

The paella dish is extremely wide, in order to retain the heat and moisture (thereby prolonging the cooking time) traditionally, cooks would often place a newspaper over the pan.

newspaper

In Spain even the newspapers can cook paella


So what was the reason for the month's delay?
The recipe, as you can see, is pretty straight forward. We actually used a slight variation; sauté vegetables, add the calamar, add the rice. Overall cooking time for the calamar was about 25 minutes as opposed to about 80 minutes above. The flavour was great, but the calamar was quite tough.

As with many things, the problem (but not the solution) was brought to our attention in my research into calamar...

Cephalopods have extremely thin muscle fibres reinforced by about four to five times the amount of collagen in a normal fish. This makes their cooking somewhat unusual. McGee and Stephanie Alexander are adamant that they must be cooked either briefly (2-5 minutes to prevent the muscle fibers being broken down) or for a very long time (over 1 hour in order to breakdown the collagen). “In-between” cooking results in a tough, rubbery texture.

Blanca reckons that Penelope Casas has written "the best book on Spanish cooking by a non-national". She is either making a very subtle point about Catalan independence or is measuring her words. Either way, judging by the fact that she was, so far, the only author that was able to solve our calamar problem... I'm convinced.

Enjoy.

Technorati Tags:

Thursday, September 01, 2005

Was it Mr. Mirepoix in the Kitchen with the Soup?

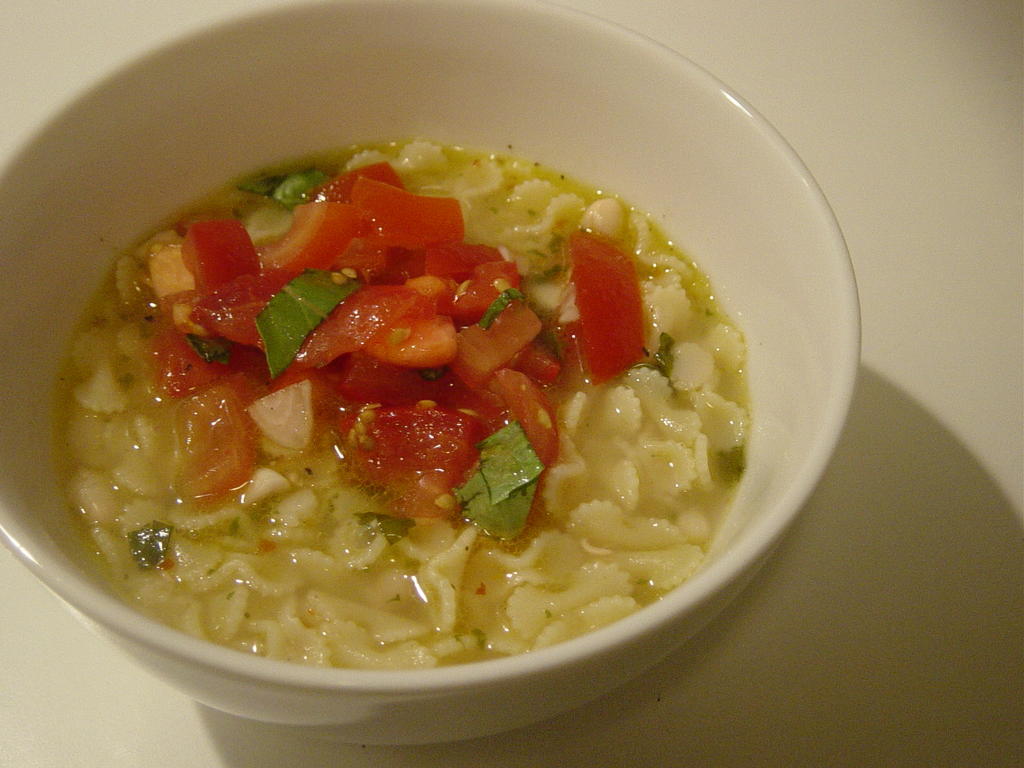
Catwalk title: “Summer White Bean Soup with Fresh Tomato Salsa”
Steve’s title: “Spicy pasta soup”

is it a soup or is it a pasta?
I may have reached some kind of milestone with all of this cooking. Last night, I prepared a soup from the Books for Cooks back catalogue; myself and Blancs were equally disappointed. OK, whilst this may sound like somewhat of an anticlimactic milestone, the fact that we both agreed on what was lacking is an improvement in itself…

Here’s the recipe… check it out, for theory if not for practice:

Ingredients salsa (for 4)
4 ripe tomatoes, diced
¼ red onion, finely chopped
1 tbsp olive oil
A handful of basil leaves, cut into strips
Salt, black pepper

Soup
4 tbsp olive oil
2 garlic cloves, chopped
½ tsp crushed chilli flakes
125 g cannelloni or haricot beans (soaked overnight and simmered until tender (1 – 1 ½ hours)
90 g small pasta
Salt, black pepper
Grated parmesan to serve

For the salsa, dice the tomatoes (cubes), mix with the onion, olive oil and 1 tbsp of basil leaves. Season as required.

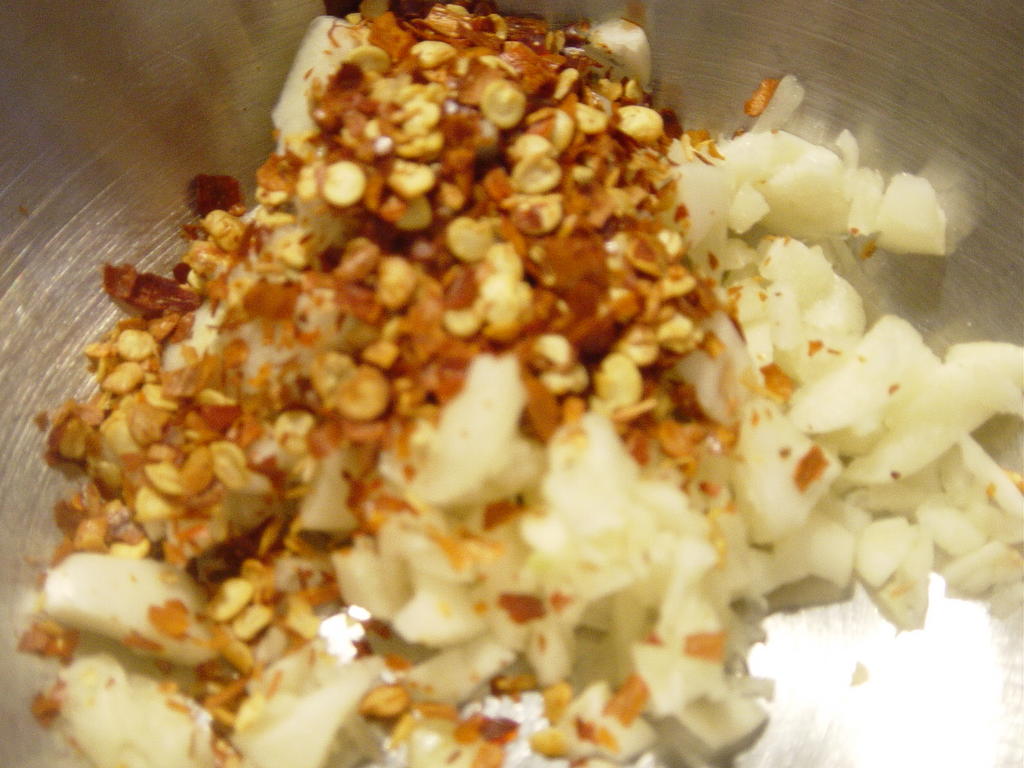
garlic and chile flakes
For the soup, heat the oil and add the garlic, chile and remaining basil. You want to release the flavour. To be honest, I didn’t get a big release of flavour, but the instructions recommended 1 minute. I guess just make sure that you don’t brown the garlic so use a low to medium heat.

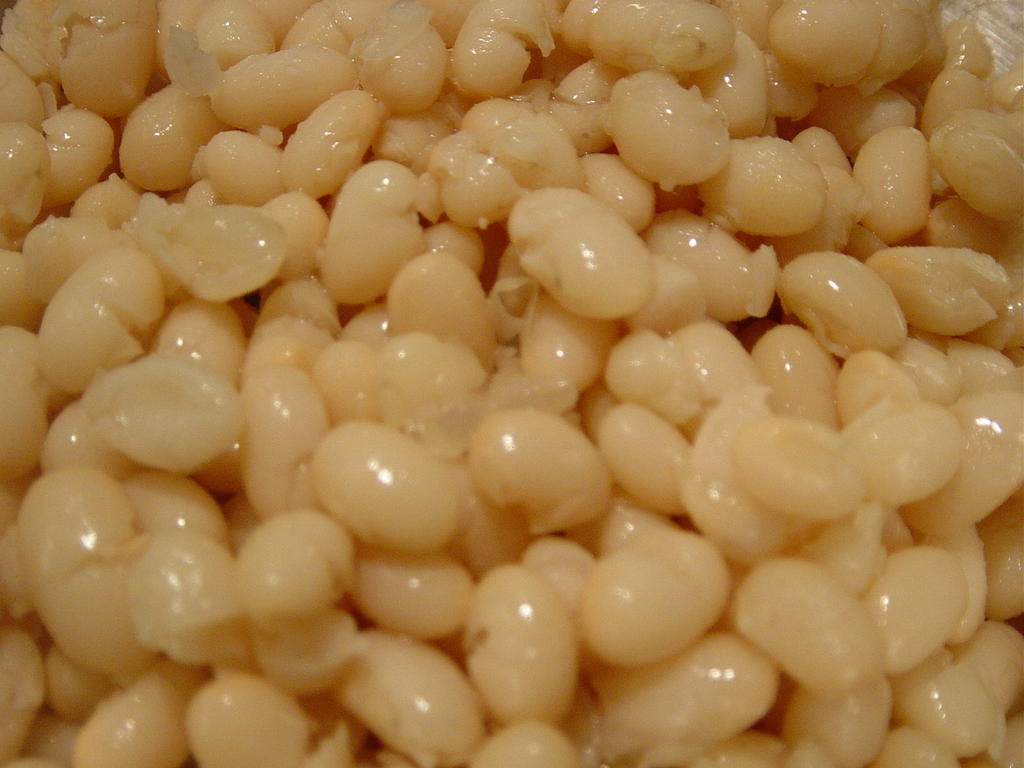
beans, beans and more beans
Pour in the stock and beans. Bring to the boil and simmer for 15 minutes. Take out one cupful of beans and liquid and blend until smooth. Add the pasta to the soup and simmer until al dente. I was given a tip recently from Victor a chef at the ElBulli Hotel… bite a single piece of pasta in order to see if it is cooked. The core starch (similar to rice) should have just about vanished.

The recipe recommends serving this as a hot or cold soup. I served it hot.

So, what went wrong? I was eating the soup thinking that there was something missing; texture and flavour. I went along the lines of:
- too much pasta
- too little bean texture
- too bland a flavour; garlic was the predominant flavour

Blancs and I were on the way back from the local this evening and discussed the soup… happily we were both in agreement on the problems. Some solutions recommended:
- use less pasta. It obviously swells up a lot and runs the risk of overwhelming the other somewhat neutral ingredients. I would try maybe 60 g next time.
- use more beans. As the recipe says, this isn’t just a case of not blending the beans… that is needed in order to give body to the soup. I think that you’d need to nearly double the quantity; 200 g?
- regarding the flavour, here was where Blanca revealed some culinary artistry to me… mirepoix.

A chance to research a "classical French cooking technique"... I couldn't resist it. No sooner had I picked up my pen and paper and was approaching the bookshelf, than Blanca suggested that I should blog about some of the books that I reference. I like it... a reference about reference books... circular... a coffee table book that's about coffee table books... you've got to like her style.

I’m still reading my way through the books so couldn’t pretend that I have developed anything but a passing relationship, but here is what I have so far (in order of preference):

1. Harold McGee, “on Food & Cooking“. Any regular reader will know how much I reference McGee... he's gonna chase me for royalties soon. The master of food science, I only respect people with a deep and unfailing love for McGee. He is the only author that manages to cover any topic that I’ve researched.
2. Spaull and Bruce-Gardyne, “Leith’s Techniques Bible”. Great. Blancs is a Cordon Bleu girl so hates the bible (eh, she's Spanish, so not that Bible, the other bible), nevertheless, it’s good for all of the techniques that I don’t understand.
3. Rombauer, Rombauer Becker and Becker, “Joy of Cooking”. Old hat in the US, but still ignored in many parts of Europe. The joy of cooking is the most comprehensive reference and recipe book. It also manages to blend the two very well. My first memory of the Joy of Cooking was seeing it in Blanca's flat in Brussels and getting excited when I thought it was the Joy of Sex... not sure which we would have gotten more use from.
4. Various, “Larousse Gastronomique”. New in (see below) at number 4 and with good potential to move up the charts in the next few weeks.
5. Shirley O. Corriher, “Cookwise” There is something that I don’t like about Cookwise. It falls between the cracks of reference book / recipe book…
6. Stephanie Alexander, “The Cook’s Companion” Not available on amazon.com... I don’t get it (mentally rather than physically). It is really well written, but sorted by ingredient and doesn’t successfully bridge reference and recipes; rarely consulted.

A little bit about Mirepoix

The “Joy of Cooking”, not usually the most poetic of books, evocatively describes the purpose of mirepoix…

“many sauce recipes begin by sautéing a mix of aromatic vegetables… cooking these first in a bit of butter, olive oil, or other fat releases their flavo[u]rs so that as you add other ingredients… the entire sauce becomes infused with the character of the flavour base”… “This universal cooking technique forms the foundation for dishes all across the globe... The French have mirepoix - onions, carrots, and celery cooked gently in butter to bring out their inherent sweetness (a white mirepoix for light-coloured dishes substitutes the white part of leeks for the carrots)”

Well, I can’t really say much more…

Some of the versions are interesting. For example, the Italians sofritto substitutes olive oil for butter (I guess I’m a closet sofritto fan); it can also include fennel, leeks, garlic or chopped herbs such as parsley.

From checking out McGee, it seems to be that celery and fennel are both part of the carrot family. Being stalks rather than roots such as carrot. Leek and onions being both onions (allium). He goes onto say that the Spanish version is called Sofregit.

Until today, the Larousse Gastronomique has only served as a useful stand for my stereo. I must indeed have crossed a significant milestone as Blanca felt it was appropriate to finally include it in my reference material. The LC (as I fondly call it) calls mirepoix a mixture of diced vegetables (carrot, onion and celery). It can be used to enhance the flavour of meat, game and fish, in the preparation of sauces, soups and as a garnish for certain dishes. It is said to have been created in the 18th Century by the chef of the Duc de Levis-Mirepoix in France (ambassador of Louis XV... great grandson to Louis XIV who, according to Dumas, was the brother of the Man in the Iron Mask). OK, too much French for the moment...

The traditional ratio is 2:1:1 onion, celery and carrots. This can of course be varied according to recipe, dish, mathematical ability etc.

----- STOP THE PRESS -----

Blanca has just taken the piss out of McGee and The Joy of Cooking:
- Mirepoix is NOT sofritto. “Mirepoix” can refer to the raw or cooked versions. Sofritto is cooked down vegetables, not just aromatics… it can include, for example, tomatoes
- McGee says that the Spanish version of mierpoix is sofregit… apparently this is Catalan… but I reckon that Blanca is just being anti-nationalist.

I guess that I’m back to square one with my reference book guide… don’t believe anything you read! Or else, Cordon Bleu has put the fear of God into Blanca and she is not willing to discredit the French…

Technorati Tags:

Thursday, August 18, 2005

Todo sobre su espuma (all about his foam)...

Spanish Tortilla… deconstructed


The intermediate term in the kitchen has started with a bang! Blancs and I have been playing around with some of Ferran Adría’s cooking books lately. I think that this is either Blanca’s way of improving my Spanish or scaring me out of the kitchen. Given that she did a stage before at El Bulli Hotel she has a bit of an advantage, but I have sheer bald-faced stupidity on my side.

When dealing with such a superstar chef, where better to start than with one of his iconic dishes. Ferran has made his name as the king of all things "unusual" in the kitchen. He is credited with bringing the foam (espuma) into the commercial kitchens. Methinks with an ironic style, his books attempt to bring the foams into domestic kitchens. Whilst Blancs prefers his classic (and very much out of print) “Concinar en 10 Minutos”, we cooked from “El Bulli: 1998 – 2002”. This is the dark hardcover book that you will find in good bookstores.

There are a few things to understand before we get into the recipe.

What is deconstruction?
In what I believe to be his best book; “Los Secretos de El Bulli”, Ferran explains the prior to 1993, 3 techniques were used to create meals: adaptation, association and inspiration. After 1993 he focused on deconstruction. Basically, it ”uses (and respects) the harmonies already known, transforming the textures of the ingredients, such as form and temperature”. It should retain the ingredients and flavours, but change the textures. Typically, the name of the dishes will remain the same.

What’s an example of deconstruction?
Well, we’re about to look at an example of deconstruction. Everyone knows the classic Spanish omelette; eggs added to olive oil fried potatoes and onion and served upside down. Ferran puts a spin on this, he foams potato mash and layers this over onion and a sabayon of egg yolks.


What’s the deal with foams?
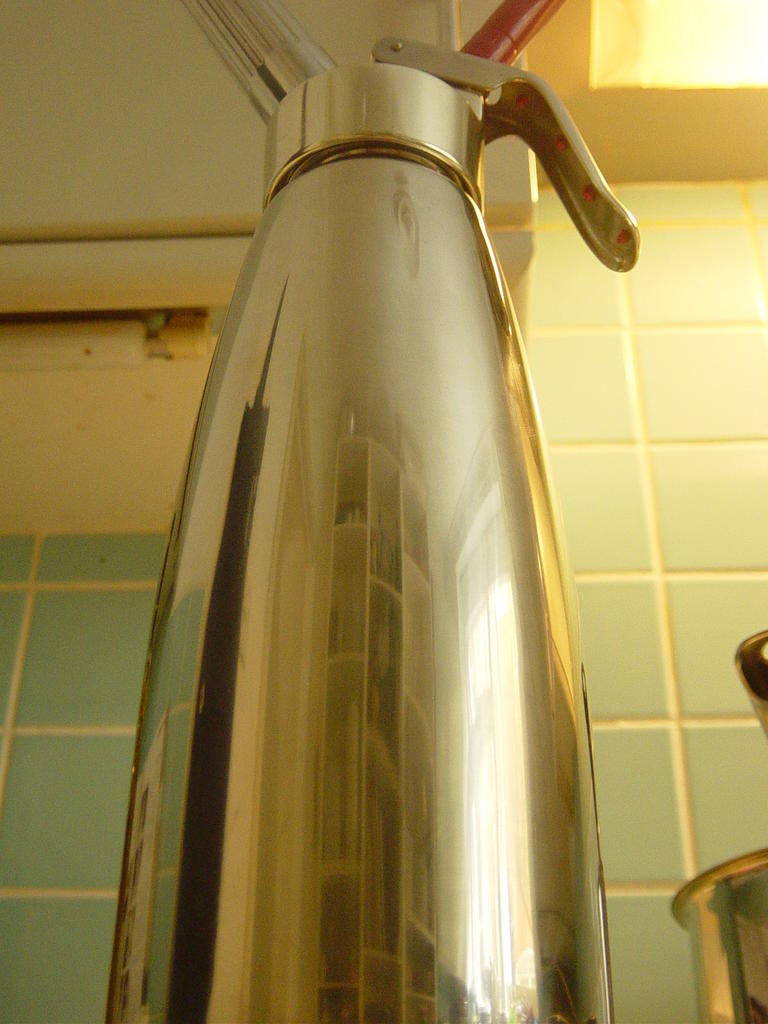
Foams is one of the techniques that allows Ferran produce different textures and techniques. It is an extension of the mousse, with the basic difference that cream and eggs are not necessarily required. Ferran appears to have shares in iSi; he takes every opportunity to recommend their siphon to achieve a pure flavour of foam. He lists the benefits of foams as follows:
- More flavour. As mentioned above, with less lactic products and eggs, the foams hold only the main ingredient flavour.
- Better health value. All fruit or vegetable vitamins and proteins are served intact. There are no additional fats.
- Lighter. The pressured incorporation of air (nitrous oxide) produces a lighter end product.
- Better conservation. The siphon is hermetically sealed and thus preserves food better.
- More economic. Eh, this is kind of questionable. Ok you don’t need extra eggs and cream, but you do need to buy a fairly pricey siphon and gas refills.
- More creative. Also questionable, but undoubtedly, the foam is somewhat more flexible than traditional mousses.

Ingredients for Potato Foam(including mistakes… for 1 very relieved person)
1 iSi siphon
250 g potato
100 ml water from boiled potatoes
3 tbsp olive oil
100 ml cream
Salt

Bring the potatoes to the boil and simmer until cooked. Decant 100 ml of the boiling water before discarding the remainder. Briefly mash the potatoes. Put all the ingredients into a container for blending. Blend until creamy. Season according to taste (we also added pepper).


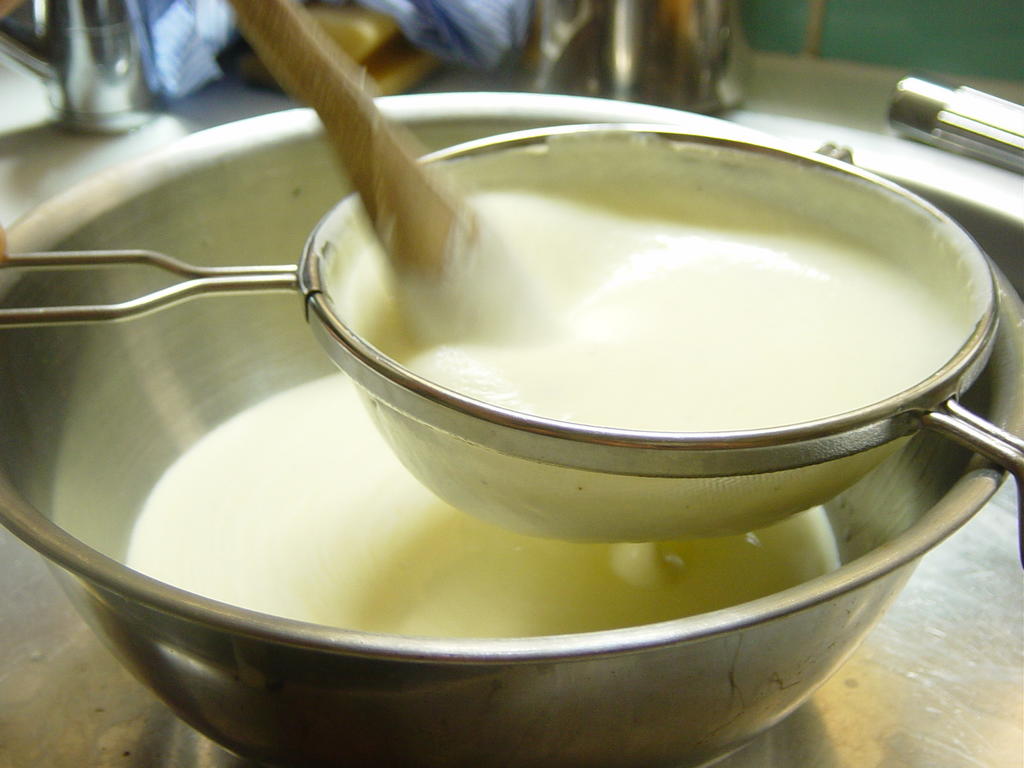
Sieve in order to remove any lumps that could block the siphon. Be careful here not to press too hard.

Pour the sieved mash into the siphon while still hot. Charge the siphon with nitrous oxide gas. Upturn once or twice after charging. We actually used 3 charges of gas, but, depending on the age, you should get away with 2.

Place the siphon in a bain marie at a similar temperature until ready to use.

Ingredients for Onion and Sabayon
2 medium onions
2 egg yolks
1 black truffle
Olive oil


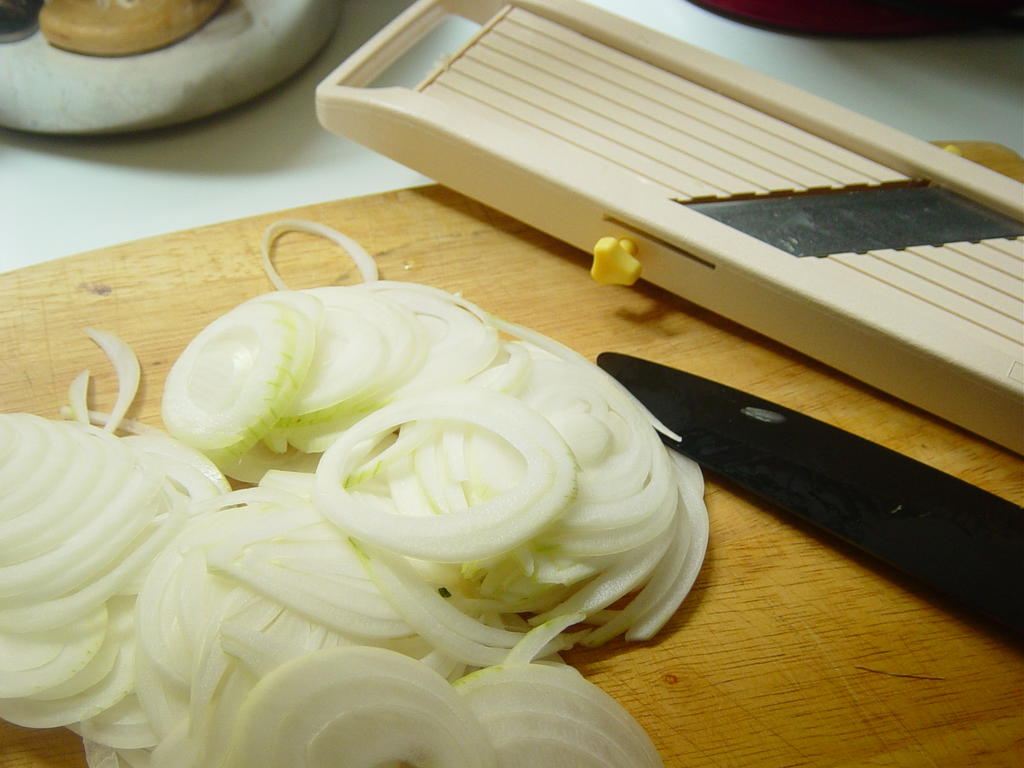
Cut the onions as fine as possible. I used a mandolin for the first time; definitely worthwhile.


Put into an olive oil pan over a low heat and cook until well golden. Note: you can add water / salt in order to prolong the cooking without drying out the onions too much.


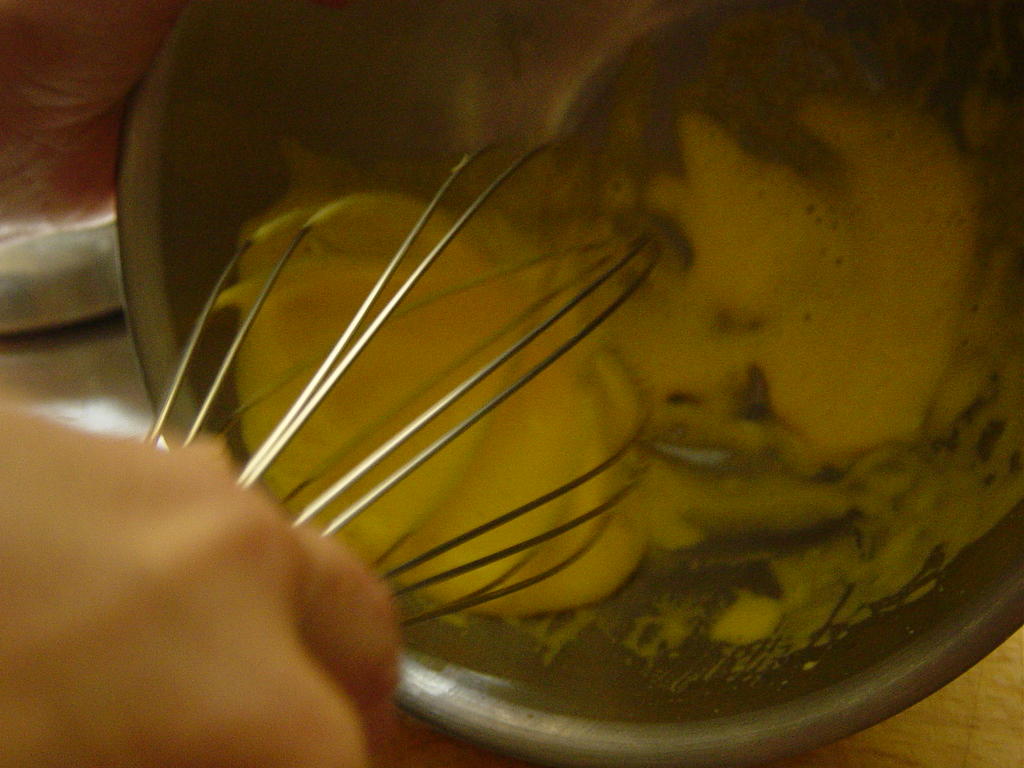
Create an emulsion of egg yolk by adding 2 tbsp of warm water and beating until it holds small channels for a short period of time.

To serve
Cocktail glasses are best, but I discovered that all of ours are broken. Wine glasses are best. Put a little of the onion at the bottom of the glass. Put the sabayon on top. Gently apply the foam. This was tricky; it relies on the sabayon being firm enough and the foam being light enough. It is best to hold the nozzle vertical and release the foam until it is at an appropriate level. Top with finely sliced truffle.

The verdict… I’ve had a yoghurt foam before and that was incredible. I wasn’t astounded by the tortilla, but it definitely was different. It lacked a little flavour and I probably used an olive oil that was too cheap (the taste was quite strong). Either way, definitely worthwhile and something that I will try and do a variation on in the future.

I’m thinking deconstructed Irish Stew…

Technorati Tags:

Wednesday, August 17, 2005

Logistically Challenged and Misunderstood: Our Modern Day Tomato Soup

Tomato and Ginger Soup

tomato and ginger soup
I came into some flak recently for suggesting that I didn’t like one of the soups that we had cooked. How could I have been so naïve as to criticise a dish while Blanca still had a knife in her hand? In order to avoid A&E we decided to, as with all great workmen, blame our tools. We looked at the pale, tough tomatoes that had just gone into our soup with and found our scapegoat.

Ripeness… what’s a guy gotta do these days? Short of growing and picking your own tomatoes, how can you get good fruit?

Ever since reading Jeffrey Steingarten’s “The man who ate everything”. I have been more aware (and more disappointed) by the ripeness of fruit in our supermarkets. The trend that we are all familiar with is that the ever successful supermarkets claim that the consumers are driving more diverse product ranges. As a result, the wholesaler to retailer distribution channel has to cope with greater distances. Greater centralisation and consolidation of stores results in greater quantity being pushed through these already tired channels. All of this has driven the requirement to pick more robust, durable fruit in order to survive the trip to the store. Unfortunately, durability is seldom analogous with fruit flavour.

Fruits live to ripen, this is what guarantees future generations. If fruits had their own reality show, all they would do is sit in the sun and wait for reproduction (eh, they may have their own show already). The process generally takes place during maturity and decline. Typical changes include colour, taste, aroma, size, weight, texture and nutritional content. Change in taste is what we're interested in here. The process entails the conversion of starch into sugar (sweeter and more desirable). Unfortunately, many fruits convert the starch from the plant (i.e. they don't have starch stores) and therefore will not get any sweeter once they are picked.[I]

The tricky part is that not all fruits are affected in the same way by this cutoff of sugar. As long as you shop in large supermarkets (we avoid them for fruit) you need to be aware of the risks that you are taking. That being said, being “forewarned is forearmed”, Steingarten categorises fruit according to their likelihood to ripen and improve off the vine:

Never ripen after pickingsoft berries, cherries, citrus, grapes, litchis, olives, pineapple, watermelon
Ripen only after pickingavocados
Ripen in colour, texture, but not sweetnessapricots, blueberries, figs, melons, nectarines, passionfruit, peaches
Get sweeter after pickingapples, kiwi, mangos, papayas, pears
Ripen in everyway after pickingbananas

[II]

Category One receive all of their sugar from the parent plant. They may decrease in acidity, but will never get sweeter once off the vine. Category Two plants send a chemical that actually inhibit ripening, the fruit must be removed in order to stimulate the process. Category Three contain no starch, once off the vine, they will not create sweetness. These must be bought physically mature. Category Four have large supplies of starch, they improve in sweetness even off the plant. Category Five converts nearly all of its ample starch to sugar.

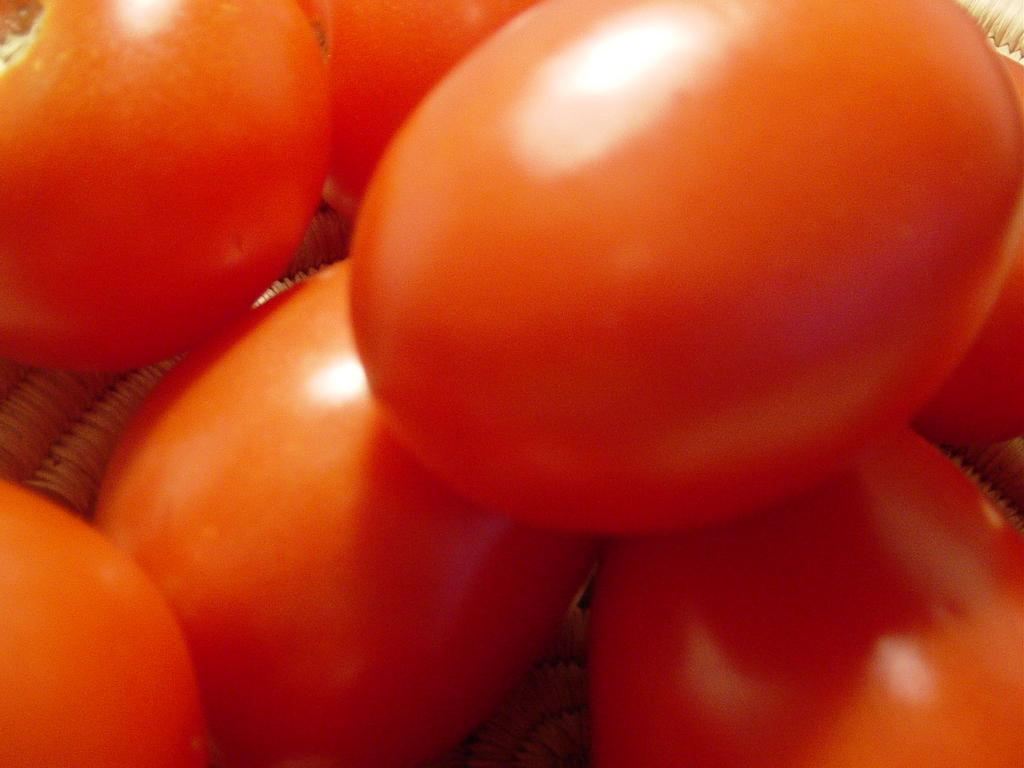
tomatoes

The tomatoes; snipers snipe that they try a little too hard when dressing for comic relief

Depressingly for us, no one actually classifies tomatoes in the above matrix. From reading McGee, they seem to be a cross of Categories Three and Four. They do store starch in their wall tissue, but not as much as, say, apples. The rule of thumb should be to allow them ripen fully on the vine in order to have the fullest flavour[III]. This is sadly at odds with commercial reality. One tip that may help us; store tomatoes at about 10 C in order to maintain their flavour (due to a critical flavour compound, (Z)-3-dexenal, which disappears when chilled).

northcote food market
Northcote Rd. food stall; the future of fruit shopping?

Our story ends well. We took at trip to Northcote Food Market and got some great plum tomatoes; red, meaty and perfect for cooking. Our second attempt at the soup was far more successful. It is taken from Celia Brooks Brown’s “Vegetarian Foodscape”.

Ingredients (for 4)
1.25 kg fresh, ripe tomatoes
1 pint (600 ml) Vegetable stock
30 g Ginger, peeled and chopped
4 garlic cloves, peeled and roughly chopped
1-2 tbsp muscovado sugar (depending on the sweetness of the tomatoes)
Salt and pepper to taste
Chopped parsley to garnish

The sweet, meaty plum walls balance the more acidic (citric and malic) flavours and aromas of the jelly and skin. You don't need to peel. Additionally, don't worry about the loss of nutrients; almost 0% of minerals and about 5% of vitamins are lost during cooking tomatoes. Bring the tomatoes to the boil in the vegetable stock. Leave to simmer for 10 minutes. Add the remaining ingredients and simmer for 20 – 30 minutes. Puree the soup. Pass the whole thing through a sieve and serve.

Second time around, this was a fantastic soup. Really luxurious and smooth. I recommend plenty of pepper.

Sources
[I] Shirley O. Corriher "Cookwise"
[II] Jeffrey Steingarten "The Man Who Ate Everything"
[III] Harold McGee "Food & Cooking"

Note: This blog comes partly inspired by the UK's best food programme; “Full on Food”. Anyone who hasn't had the chance of seeing should watch it.

Technorati Tags:

Tuesday, August 09, 2005

Home Alone 2: Risotto & Rice 101

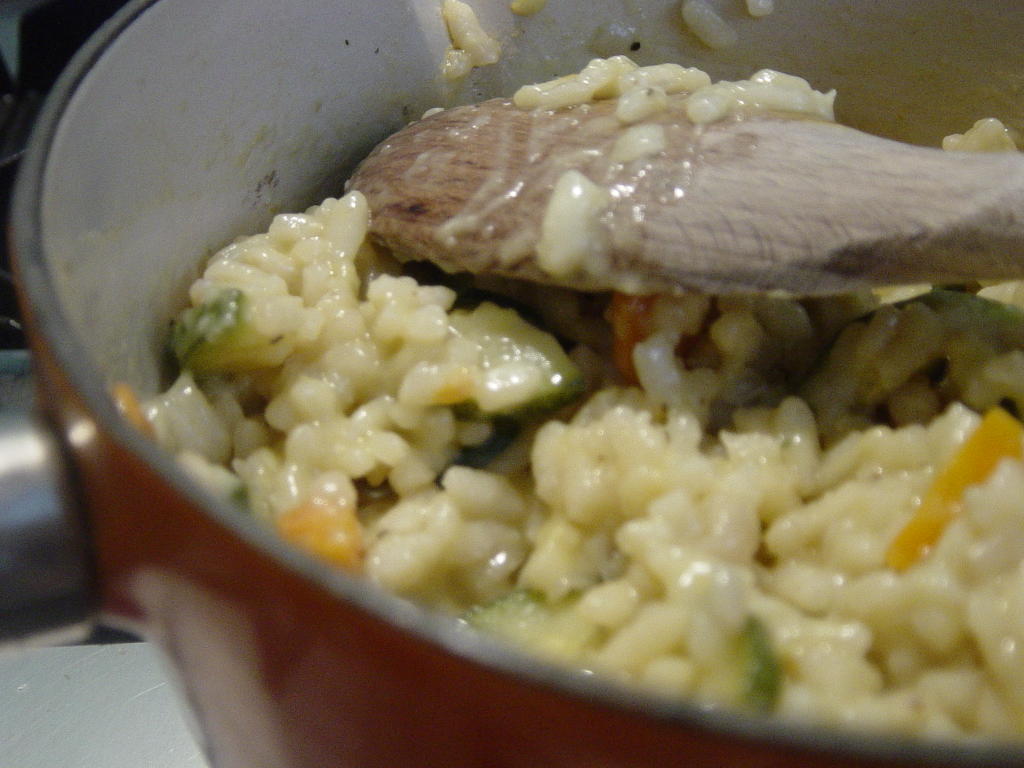
Courgette and Carrot Risotto


This blog comes inspired by The Sunday Times “Style” supplement from last... Sunday, which had a recipe for Courgette-Flower Risotto. It was sufficiently inspirational to make me want to eat risotto, but not enough to get courgette flowers… ah well; you can’t have everything all the time.

I have cooked risotto many times before with Blanca and have a basic understanding; sauté the onion, cook the rice until translucent, add the stock one ladle at a time until it is all absorbed. I didn’t know the answers to some basic questions, such as: what's the difference between “risotto rice” and others, why the convoluted cooking process etc. Sounded like a good idea for a blog… Below you'll find my Rice 101

Ingredients (serves 2 as a main)
1 courgette, chopped
2 carrots, chopped
1 litre chicken stock
1 pinch saffron threads
Olive oil
Butter
½ onion, finely diced
200 g Arborio rice
75 ml dry white wine
15 parmesan cheese, grated

Melt the butter with olive oil in a large, heavy saucepan over a low heat. Add and cook the carrots, onions and courgette until soft. It is obviously best to cook the carrots slightly longer. Increase the heat and stir in the rice. Stir the rice (about 3 mins.) until a white dot remains in the centre of each grain. Add the wine and continue stirring until all is absorbed.

During this time, keep the stock (with crushed saffron) simmering. Start adding to the rice, ladle at a time, waiting for absorption to complete before adding the next. Continuous stirring is required, this unique method abrades the rice and removes the starch from the plant into the liquid to produce a creamy consistency. The evaporation of the stock means that more is required, thus producing a more concentrated flavour in the dish. All recipe books are in agreement of the “magic 20 minutes” required to cook risotto. The clock starts from the point of adding the first ladle of stock.


When ready, the rice should be tender, but still firm to the bite. Take the risotto off the heat. Fold in the parmesan and season according to taste. As you will see below, risotto is suitable for reheating. In fact, many restaurants prepare the labour intensive dish upfront and reheat. This is not necessarily “best practice”, but is a useful cheat.

The science…

Brief History of Rice[i]

Rice has been cultivated in Asia as early as 3500 BC, Alexander the Great is credited with having introduced it to the Western world about 335 BC. The Moors planted rice in Andalucia (in gratitude the Spanish kicked them out), Spain in the eight century AD and by 10 AD it was being cultivated in Italy.

Types of Starch[ii]

I thought this section would be called “types of rice”, but it turns out that we need to know about starch before we can know anything about rice. McGee explains how grains and legumes contain a heap of starch and this plays a large role in the texture of the cooked end product and their products.

Plants store glucose as starch in two different forms: amylose and amylopectin. Amylose molecules are structured and ordered; they’re made from about 1,000 glucose sugars and are mainly one extended chain. Amylopectin is an unruly molecule; it is made from 5,000 to 20,000 sugars and has hundreds of short branches. Cooking starch is all about the application of steam or boiling water in order to break down the cell walls and free the starch. This process converts solid starch into starch-water gel (hence it’s called gelation). The ordered clusters of amylose require more heat and water in order to break them apart.

Other amylose traits (amylopectin tend to exhibit the opposite)[iii]
- it is a more effective thickener,
- the gel tends to be opaque,
- sauces made from amylose tend to not freeze well,
- amylose based sauces tend to thicken at a higher temperature

Types of Rice

The rice lineup (from left to right): long-grain basmati rice, medium-grain arborio and short-grain sushi rice.

There are more than 40,000 varieties of rice, but we can break these down. All rice contains at least 70% amylopectin (making them sticky), but some contain more. The different types of rice are judged on their relative amounts of amylose and amylopectin. There are two sub-species of Oryza sativa. Indica rice are grown in the lowland tropics, they produce a long, firm grain that is rich in amylose starch. Japonica is the other rice, it is found in the upland tropics and temperate climates (Japan, Italy and California). It contains less starch and produces a shorter, stickier grain. There are 3 broad types of rice; long, medium and short grain.

Long-grain rice (aromatic rices such as basmati, patna, Thai fragrant and Jasmine) are 4-5 times long as wide and high in amylose. They cook separate and fluffy (due to less amylopectin) and cool hard due to the setting of the amylose. It is predominantly used in savoury dishes; pilaffs, curries etc. The fact that long-grain cools hard means that it is generally unsuitable for salads and sweets, this can be countered if mixed with a dressing while still warm.

Medium-grain rice is predominantly grown in the temperate zones mentioned above. It is higher in amylopectin and does not harden when cooked and cooled. This is a favourite for the Italian risotto and Spanish paella. As noted above, the quantity of amylopectin in medium-grain rice makes it quite amenable to reheating.

Special mention to the Mr. Risotto. This is a fat variety of medium-grain rice. It typically has an small area of underdeveloped starch in the center which, combined with the cooking method keeps the center hard whilst the rest is creamy. This produces the famous "risotto bite".

Short-grain rice (aka sushi rice) is only a little longer than it is wide; it is high in amylopectin and cooks soft and sticky. Due to the fact that compact moist grains stick together, they are a preferred when eating with chopsticks. There is an extreme version of short-grain rice called sticky rice (glutinous rice); this is used in East Asian dishes and desserts.

Cooking Rice

There are two methods of cooking rice[iv]; the boiling method and the absorption method. From what I can tell, risotto is neither of these (I guess that means there are 3 methods of cooking?) I’ll do practical examples of the other two later.

All this talk of rice has made me miss Japan, I always wanted to go to a paddy field in Japan. I never made it, but Taro gave me some informal classes. The kanji for paddy field is , pronounced “ta”. This is a kind of ideographical word as it looks somewhat like fields from the air… It also forms one of the most common names in Japan (words taken from nature form 30 of the top 100 names in Japan).

Endnotes & acknowledgements:

[i] Stephanie Alexander “the cook’s companion”
[ii] Harold McGee “McGee on Food & Cooking: an encyclopaedia of kitchen science, history and culture”
[iii] Shirley O. Corriher “Cookwise”
[iv] Leiths Techniques Bible

Technorati Tags:

Friday, August 05, 2005

A Horse with Some Pain - a blogger's tale of tears

Horseradish Sauce – best not to make this your entire meal.

I’ve been waiting for about 2 years, but last Friday I got the opportunity to make some horseradish sauce. We were cooking traditional british fare; beef, potatoes, leek, spring greens and Yorkshire pudding for Greg and Taro for an impromptu tokyo (obviously) reunion.


What’s a name? The flavourguy at montrealfood explains how the horse was originally ‘hoarse’ – due to the effect on your throat. It’s a member of the mustard family (see below).


The recipe is simple:
- 30g horseradish
- ½ Lemon squeezed
- 150ml crème fraiche
- Salt and pepper to season


Peel the horseradish and grate finely. This may seem like an easy thing to do, but it really isn’t. The peeling was a simple enough affair, the outside is fairly tough, but most regular peelers are well able to get through fresh horseradish. The grating was traumatic. Horseradish is fairly tough on the grating so it takes quite a bit of effort to wear down. Unfortunately, it also seems to be WAY more pungent than onion. After a couple of minutes grating (I was doing 50g) my eyes were watering. At 4 minutes my throat was dry and hurting. Finally, my eyes were closed and I couldn’t talk. I was blindly grating, resigned to the fact that I would stop when I felt the grater on my fingertips. I was left with a bowl of gratings and a trip to the sink to cool my eyes.

Add the lemon juice to prevent the horseradish from discolouring. Add to crème fraiche. As you know, I’ve been struggling for some time with the role of salt and general flavouring in food. Surprisingly, tasting the sauce revealed very little pungency. There was a lemon flavour and crème fraiche, but nothing else to talk of. The addition of a few pinches of salt had the most remarkable ability to bring out the mustard taste of the horseradish. This was quite a revelation for me, it was also the first time blanca accepted my seasoning without any modifications (although later she reckoned that it was a little weak – this may be due to too much lemon juice (see below)).

I'm going to do some flavour / taste blogs in the future - this will be an example of where salt has a dramatic effect. I've been told that salt has a similar result in making tomato sauce...

We sautéed some leek in butter and mixed with spring greens. The leek is a member of the lily family (allium), like the asparagus, onion, garlic etc. It is a leaf, much like the scallion. It contains many of the healthy properties of other members of its family:
- reduce total cholesterol (LDL) and raise HDL
- lower blood pressure
- associated with reduced risk of prostrate and colon cancer

Its flavour is more delicate and sweeter than onion, but while chopping you can still feel the pungent aroma from the vegetable.

I roll-sliced two large leeks and was surprised to see how much they stung. Almost to the same level as an onion. This was not a meal to ingratiate me with my eyes. Hopefully they’re not spiteful or I’ll be soon susceptible to sudden periods of blindness e.g. when I’m crossing roads.

Why do these vegetables cause our eyes to water?

Thanks to open topia for the following graphic depiction of the process. Leek, like onions, has two sections within their cells; one with enzymes (allinases) and the other with sulfides (amino acids). The enzymes break down the sulfides and generate sulfenic acid. This is unstable and decomposes into a volatile gas called (syn-propanethial-S-oxide). The gas dissipates into the air and comes into contact with your eyes. Water in your eyes mix with the gas to form a mild sulfuric acid. This irritates the nerve endings on your eyes and causes the tear gland to excrete tears to dilute and flush out the irritant.


There is a good deal of information about the horseradish. You can go to the interesting horseradish homesite (interesting because it seems to be able to combine horseradish into any recipe you choose). Like many vegetable reactions (horseradish is a member of the mustard family), it is only in grating that the horseradish becomes volatile. During the process, the cells of the root are crushed, releasing isothiocyanate (EYE-so-THIGH-oh-SIGH-uh-NATE) oils. During grating, cells breakdown and form, yeah you’ve guessed it, a volatile gas. This enters your eye, throat and you know the rest. Interestingly vinegar stops and stabilises this reaction. I’m not certain, but lemon juice may produce the same effect.

p.s. Taya mentioned that I should investigate the difference between red and white horseradish. The red turns out to be a beet and horseradish relish. It is a traditional Ukrainian dish called Tsvikli. Sounds good – must have it sometime.

Monday, July 25, 2005

charity folding - lemon polenta cake

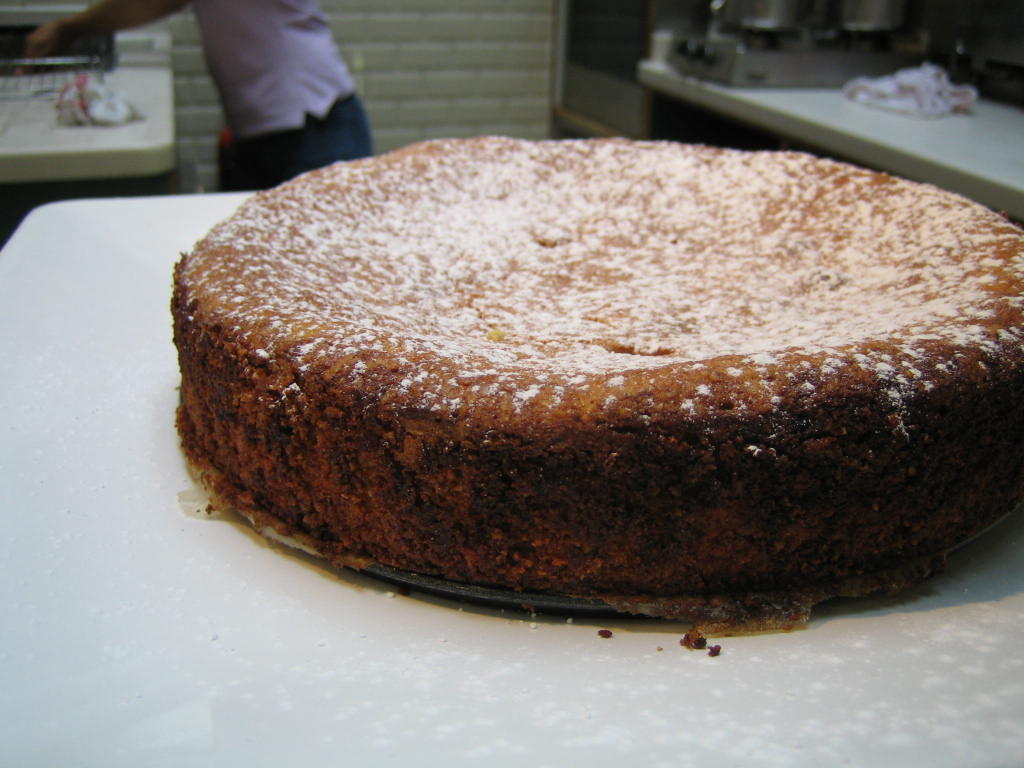
Lemon Polenta Cake


Sometimes getting up at 6 am on a Saturday morning can be good for your health. Blancs has been working the last few Saturdays, so I “decided” that I “wanted” to help out last weekend. We started by doing the shopping for the day. I was mildly disturbed to hear the local supermarket lady say how she “always thought Blanca was a señorita… what a surprise; you’re a señora!”. I don’t want to know why she thought Blancs was a señorita. The stall owners in Notting Hill now call me “Blanca’s little helper” or probably “sucker”… I’m trying to decide which I prefer.

This was my first time in a professional kitchen (I hope that Blanca’s boss never reads this blog). I was on Lemon Polenta duty. This is in the Books for Cooks cookbook volume 1,2 & 3. It is originally from the River Cafe Book 1.

Lemon Polenta Cake
250 g soft butter
250 g caster sugar (granulated)
Zest of 2 lemons
250 g ground almonds
1 tsp vanilla essence
3 eggs
Juice of 1 lemon
125 g polenta
1 tsp baking powder
Pinch of salt

Beat butter, sugar and zest until fluffy (and almost white). Stir in almonds and vanilla. Add eggs one at a time, beating each before adding the next. Fold in lemon juice, polenta, backing powder and salt. Spoon the mixture into a buttered cake tin.

Bake in a 160 c oven until sides pull slightly from the edges of the tin. This should take approximately 50 minutes. The cake is cooked when it feels firm and springs back from placing your hand on it.

The science...
Of course, I was acting as a professional, which apparently doesn’t mean that I get paid, it means that I just do things when I’m told and how I’m told… I’m not even Blanca’s “little helper”; I’m her bitch.

Nevertheless, I did have some questions going through my head:
- why use soft butter?
- why use caster sugar?
- why add the eggs one at a time?
- what is fold?
- why fold?
- when can I go back to bed?

I left Books for Cooks as the morning rush started (talk about too hot in the kitchen). When I got home I did some investigations in the Leith’s Techniques Bible. As far as I can see, this method of backing is called the “creaming method” (mainly because it doesn’t involve the use of cream… oh, the irony). This is the method used in making simple sponge cakes. There are 3 steps to the creaming method…

Why do we need to use soft butter and caster sugar?
- Step 1: Cream the butter and sugar. This incorporates air to enable the cake to rise. Some of the sugar does not dissolve, but rather is held in suspension and therefore stabilises the mixture. Caster sugar is the best sized crystals in order to be suspended / support the egg yet retain their invisibility.

Why do we need room temperature eggs and why do we need to add them one at a time?
- Step 2: Room temperature eggs are added (colder eggs can cause the butter to cool and separate into clumps… i.e. curdling). As the mixture is beaten, the egg proteins stretch, holding air bubbles within itself. If the eggs are added to quickly, it can cause the mixture to… guess what; curdle.

Why do I fold.. eh, how do I fold?
- Step 3: Flour is folded into the mixture. This is to ensure that the air is not simply “stirred out”. A large metal spoon with a sharp edge is best (it cuts easily through the mixture). “Cut” the spoon in to the center of the mixture down to the bottom, draw a scoop of batter towards you, bring it up the side of the bowl, lift and turn the spoon to flip the mixture over, rotate the bowl ¼ and repeat. This is called the figure-eight method – chiefly because it looks nothing like a figure of eight. Don’t overfold as this can knock the air out and allow gluten to develop in the flour, making the cake tough.

I thought polenta was an Italian meal – why am I adding it into a cake?
Polenta is a fine ground cornmeal principally used in Italian cooking. When warm it has a soft texture like potato and is regularly eaten as a starchy accompaniment to meats. It is frequently eaten cold (when it has a firm texture) or fried. As I may have mentioned above, it can also be used in cakes as flour.

DAMNIT… now I need to do a blog on flours.

Wednesday, March 23, 2005

samosas in the workplace

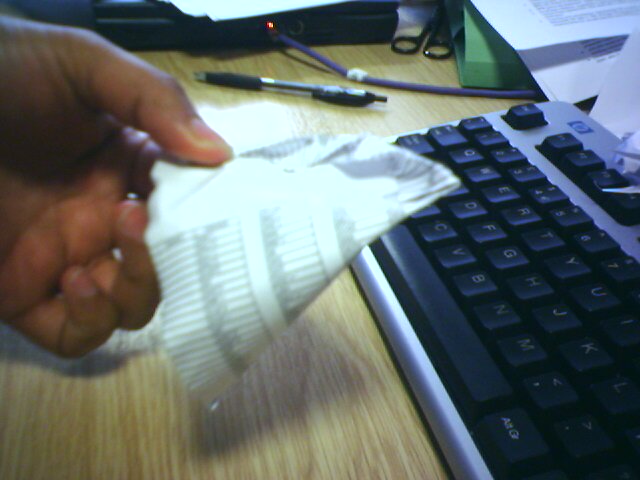
'rope' folding samosas

now that i'm learning how to cook i am aware that lessons will come from not just the kitchen, but also outside. i didn't expect where i would learn about folding samosas today...

a friend, harj, just saw my photo of the lamb phyllo from yesterday. he was convinced that it was a samosa until i showed him the recipe. he went on to recount his childhood folding upto 350 samosas at a time with his brothers at their kitchen table. it was such a piece of cultural insight that i had to write it up quickly ...

he demonstrated the fold (it's not that harj isn't culinarily inclined, it's just that the office limited materials with which to make samosas taste good) ...

1. samosa dough is cut into semi-circles, butter brushed along the outsides (we have no butter)


2. it is folded into a conical shape


3. mixture is placed inside the cone and rope folded (overlapping turns) across the top


harj and his brothers have a party trick by which they save all bird's eye chilli (with seeds) and put them in a single samosa. once an unfortunate nephew was forced to eat the whole parcel so as not to offend the family. if anyone is at an indian family meal and they notice a single samosa with an 'X' in it ... don't eat it.

Tuesday, March 15, 2005

of shortcrust science, history and culture (actually, just science)

shortcrust pastry

i'm in tokyo this week, i didn't want to miss out writing something so i outsourced this weekend's cooking to friends; claire and simon. cooking from the avoca cookbook (avoca handweavers in ireland), they were making the raspberry chocolate tart. claire's question (to which i naturally didn't know the answer) was why do we put shortcrust pastry into the fridge after mixing it?

well, given that i'm traveling, i haven't been able to take my weighty mcgee bible with me ...


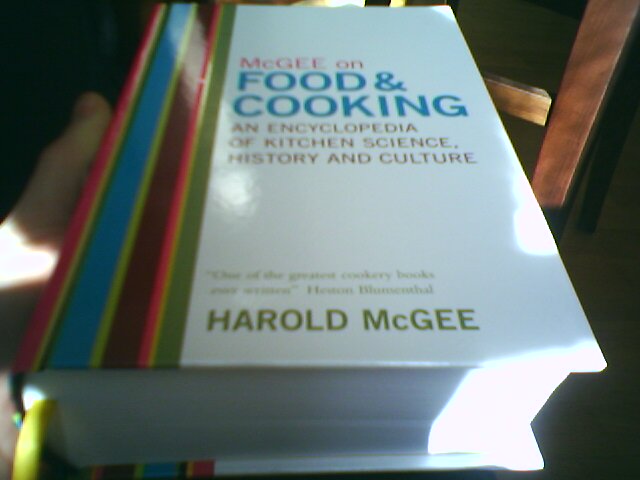
a photo of me & mcgee; happy days on our dining room floor

the size of the book would have left me with perhaps room for a pair of shoes in my luggage, so i opted for the far more reasonable mcgee on cooking 1st volume (this is only 684 pages). the decision was arrived at after an indepth analysis of the various differences between the two editions; in summary, (a) the former is not a hardback (it's a dogeared softback) and (b) the former is grey (it seems that mcgee has compensated for this fairly drab approach to colouring by opting for the clever rainbow effect of the second edition ~ i'm sure market researchers were involved somewhere along the line). other than that, i'm not certain of the difference ...


mcgee dressed casually for a night on the town in tokyo

now, for the pastry - shortcrust pastry (also called pate sucre, pate brisee) is one of 6 types of pastry (more in the future). the main reaction occurring during the making of pastry is that of protein molecules within the flour developing into gluten (a mass of molecules). too much gluten will make the pastry tough, too little will make it crumble excessively. as a disclaimer, i must quote mcgee here "our understanding of gluten is, to put it mildly, imperfect; the subject is very complicated". yes, a master of understatement, i am ever so grateful i lugged him all the way here. however, i will persevere. short pastry gets its name from the fact that we are shortening the development space & time and hence the length of the gluten chains while at the same time keeping the pastry as tender as possible ...

in researching this topic it is curious that many chefs / authors take an pro or anti-gluten view on the process. delia sits in the pro-gluten camp; http://www.deliaonline.com/cookeryschool/howto/how_0000000021.asp
whereas the open university (oh yes, none other than) takes a anti-gluten view http://www.open2.net/everwondered_food/science/science_recipes14.htm. the reality is, as with most things, somewhere in the middle ... http://oregonstate.edu/instruct/nfm236/pasty/index.cfm.

shortcrust is principally made of flour, water and butter. there are 3 key elements to making the pastry; kneading, resting and cold. and the three key ingredients play a delicate role as the story unfolds (excuse the pun) ...

1. kneading the ingredients: butter is cut into the flour, it is acting to artificially shorten the length of the gluten chains by physically putting itself in the way. it is cut into the mixture in order to ensure that the maximum amount of surface is exposed to the flour. you don't overknead as you want air to be incorporated amongst the fat and the flour. water is used to fill the gaps between the flour and the butter and ensure that it binds together. therefore: pure fats are best at shortening the gluten due to the lower amount of water present (water needs to be balanced between too little (overly crumbly) and too much (gluten rich, tough pastry)).

2. resting & gluten: delia states that resting is required in order to let the gluten react with the water to develop the pastry elasticity. all pastry should be rested before rolling out. if the resting period (approx. 30mins) is not given, the pastry won't have enough stretch and will keep breaking as it is rolled. she recommends placing it in a polythene bag and into the fridge. resting time also helps to ensure that the pastry is well blended and as a result fights against shrinkage in the baked crust.

3. cold & gluten: refrigerating is required in order to ensure the butter does not get too warm while resting. if it gets too warm, it will soak into the pastry and loose its effectiveness at keeping the gluten chains apart. additionally, at higher temperatures gluten absorbs more water and develops more readily.

3.5 cold & handling: butter binds the pastry together, as it warms it will be less effective at holding the pastry in one piece. a cold pastry is far easier to handle than warm. it tends to hold its shape better and as a result can be molded into tart dishes for quiche and tarts.

from all of the above come some of the useful tips that we have today - use cold water, use metal mixing bowls, use marble boards etc.


an interesting and good rule of thumb analysis also exists:
toughener (structural enhancer): flour, egg, egg white, water & milk
tenderiser: fat, sugar, egg yolk & acid (lemon)

during the cooking blancs was on hand to point out the things that we had done wrong. it turns out that it's not generally a good idea to believe or follow pictures in cook books - if you ever see a picture of a cooked pastry tray with dough generously spilling over the edges - don't do it! best chances at producing good pastry is to mold it into the tray, roll a pin over the top to cut the edges and hold back some raw dough in order to fill in any gaps that can occur during cooking.

i've just realised that i've traveled half way around the world, brought mcgee and steingarten and stayed up in order to write this blog; this may be a phase, but i definitely am getting into food!