Showing posts with label recipes - mains - others. Show all posts

Sunday, December 11, 2005

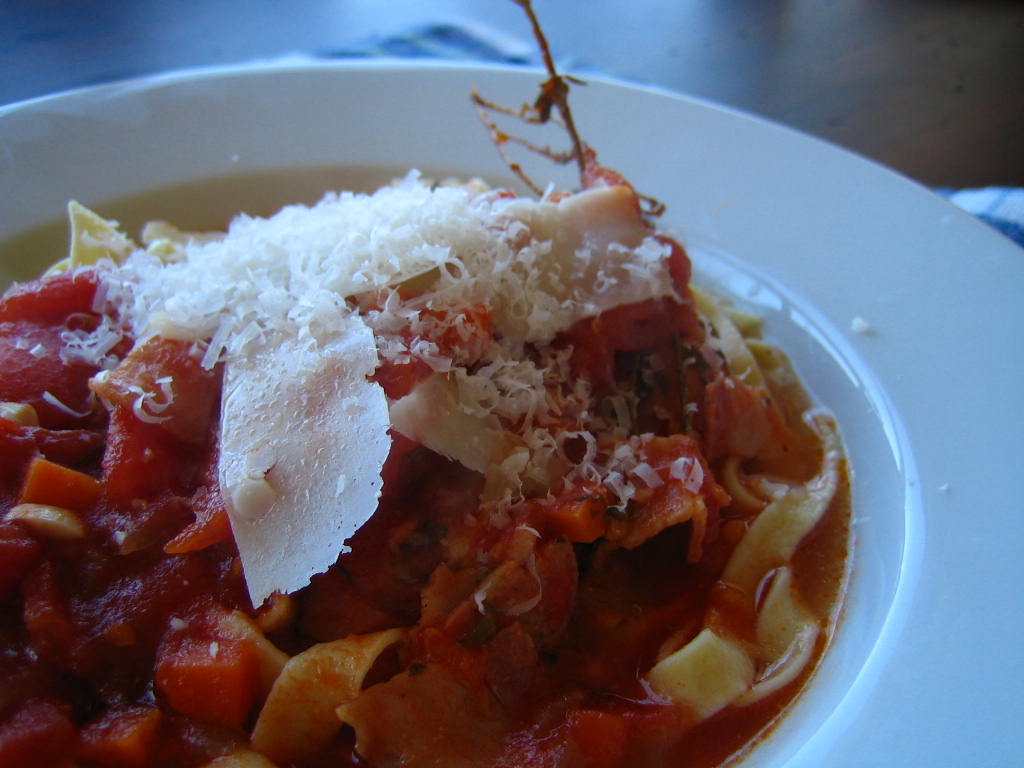
Homemade Pasta (not money)

Homemade Pasta

homemade pasta
Within a couple of weeks of moving to Spain, I realised that the civil war is used frequently as a gauge against which time is judged. Comments such as “these windows haven’t been cleaned since the war”, “the electrical wiring in this apartment hasn’t been examined since the war” or “the company that sold you your kitchen went out of business during war” are (depressingly) commonplace. They also go some way to explain why we have been here for 3 months and only now have gotten our apartment working.

The last three days have been spent sorting through boxes of Blanca’s family belongings in storage. In colloquial terms, some of these boxes seemed to have been untouched since the war. Amongst others, the following nuggets of history featured:
- A copy of “El Practicon”, a 1917 cookbook that Ferran Adria cites as being where he learnt to cook.
- Hugh Thomas’s 1961 book on “The Spanish Civil War”. This has now been recommended to me as “optional” reading. Note: yes, I realise that this was written after the war.
- A steel Italian pasta maker still in its original box.

The pasta maker was put into immediate use on our return to Granada this afternoon. This was my first time cooking pasta from scratch. In Spanish, “la pasta” means money. Despite the fact that we have now been in Spain in “business planning mode” for a few months, we are yet to discover the art of making money at home. We’re working on it, but I’m not sure I’ll blog it.

The following instructions come from Marcella Hazan’s “The Essentials of Classic Italian Cooking”. Knowing how I love instructions that aren’t exactly correct, Blanca chose to modify these in a few key places along the way. I suffered so that you can have the 100% accurate directions to making pasta in the home...

Ingredients (for 2)
115 g flour
2 eggs (medium)
1 Italian pasta maker (not edible)


The first modification that we would suggest is that the above proportion does not suit conventional soft flour. The ratio could be closer to 4:4 of flour to eggs i.e. 400 g to 4 eggs for approximately 4 people.

Combining the eggs and the flour

Another modification would be to not add all the egg at once, it is best to break the eggs into a glass as this will allow you control the amount that you add to the pasta mixture. Beat them as you would an omelette. Next place the flour in a mound on the worksurface. Hollow a hole in the centre into which you put half of the mixture. Work the flour and eggs together with your fingers and the palms of your hand. You should aim for a smooth mixture that isn’t moist.

Pastry still strikes fear into my heart and it can be quite intimidating at first. Like dogs, it smells fear so don’t be afraid of it. Marcella gives a good tip for when the pasta is ready… wash and dry your hands; press your thumb into the centre of the dough. It should come out clean with no sticky mass on it.

Blanca says that when her class was learning pasta making in Le Cordon Bleu, often they would over flour the dough. It is easier to mix wet into a dough than dry and for this reason the students would wait until the chef’s back was turned, bin their dough and start again. I have this image of students carrying over dry dough into the pubs at night or around in their bags for weeks afterwards.

Kneading
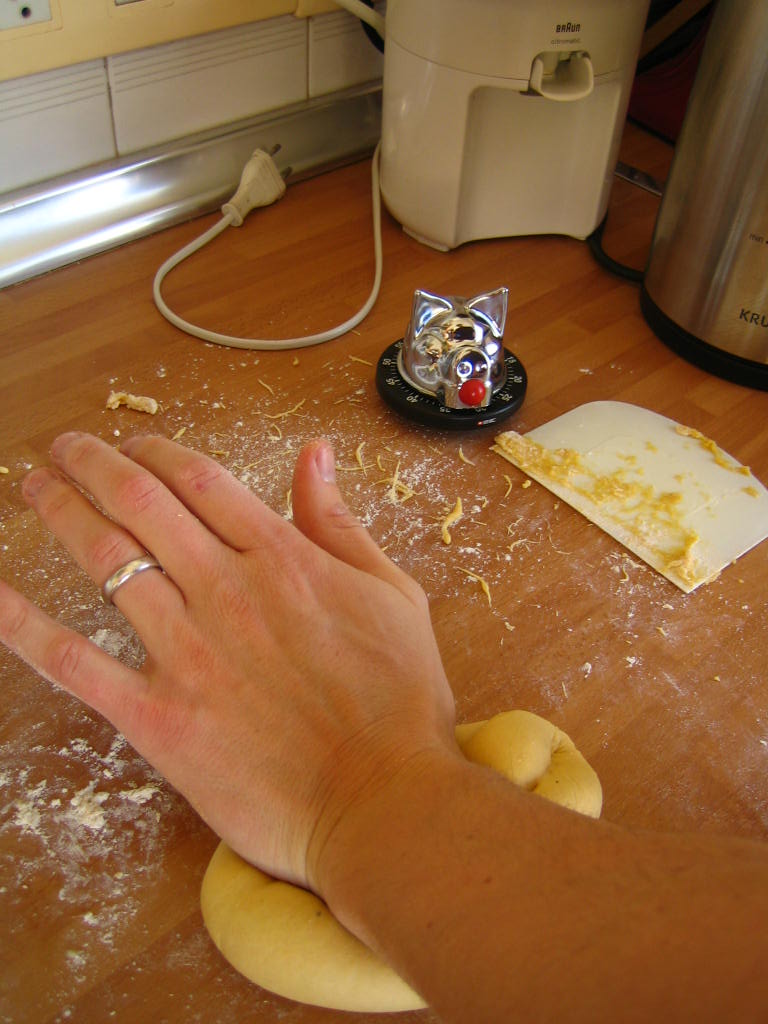

One of the great techniques of dough making, kneading, focuses on elongating and toughening the gluten strands that have developed within the pasta (combination of the egg and flour protein).

Place the heel of your hand on the top of the dough and push away from you. With your fingertips bring the back of the dough up and over the front. Give the dough a quarter turn. Repeat the process with your other hand. Always ensure that you are rotating in the same direction in order to develop longer gluten strands. Continue the kneading process for about 8 minutes until the dough is very smooth.

Thinning

We used the pasta machine that we found when digging through the family trove. This is made by Marcato Company of, eh, Italy, who obviously have bought out or scared away all of their competition; it seems to be the only design of pasta maker that you see in books or on the web. This company started “at a craft level” in 1938. Their standard model is the futuristically named “Atlas 150”, I’m not sure about the 149 that went before, but it works very well. I just noticed that the guarantee for our pasta maker expired after 3 years… I guess that covered its first 1/3 of living in a box (I’m a living in a cardboard box). With flavours of its fine Italian heritage, the Atlas 150 has a clamp that locks it to the kitchen table, this is mandatory if your pasta is planning on escaping during the torture.


The instructions are pretty straightforward:
1. Work with a handful of pasta at a time.
2. Set the rollers to their widest width. Flour the dough to ensure that it doesn’t stick. Feed it once through the rollers.
3. OPTIONAL: watch as the handle falls off, pick it up and put it back in the machine.
4. Fold the pasta across its width and repeat the process two or three times.
5. Reduce the separation of the rollers and repeat the process twice for every setting.
6. OPTIONAL: watch as the handle falls off every time you adjust the setting. Bend down and pick it up each time.
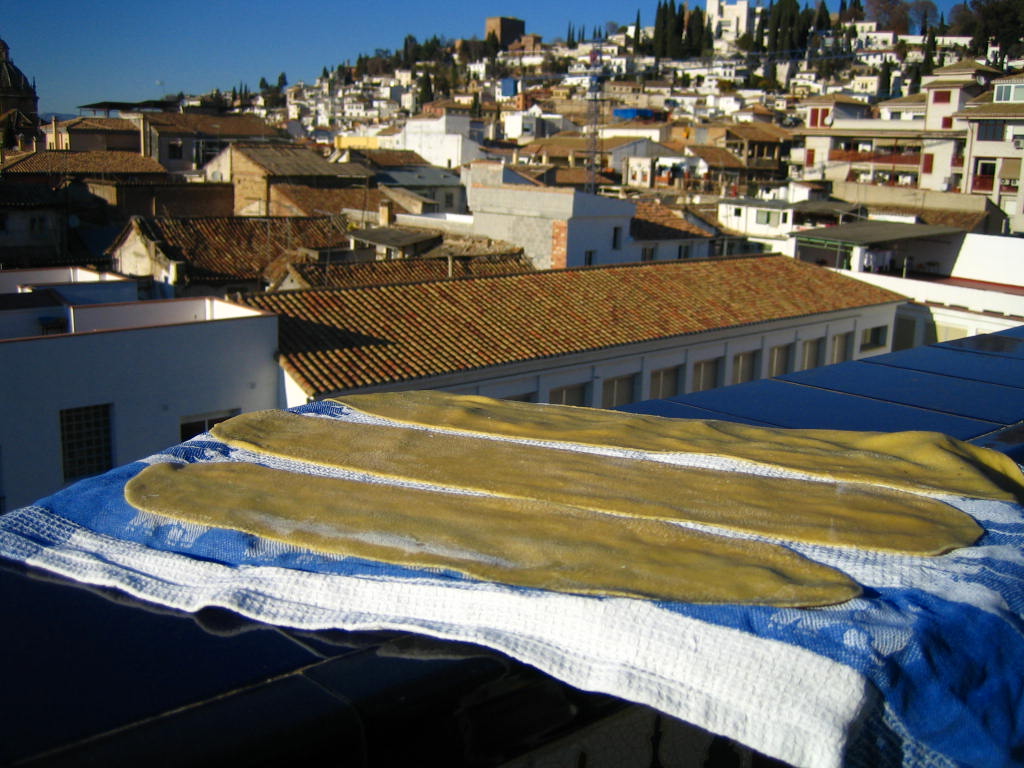
Whilst drying, cultured pasta will often admire the view and historical places of interest of the old Jewish quarter of Granada...


7. Leave the pasta to dry on a towel for about 10 minutes, turning occasionally.

Cutting
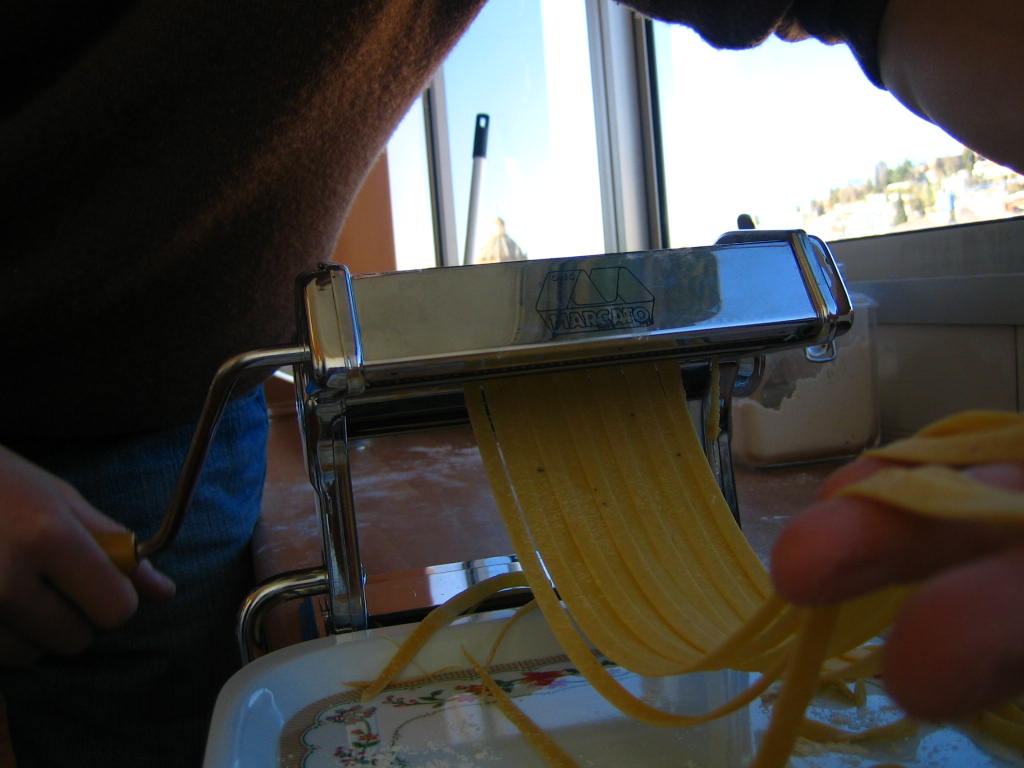

This is only going to make sense if you have a cutter on your pasta machine (comes standard with the Atlas 150). We used the narrow cutters for tagliolini (broad for fettuccine). Feed the strips through the pasta cutter. As the ribbons emerge, separate them and spread on a tea towel.

There are over 300 shapes of pasta, for anyone with an interest in learning them all, I found the highly comprehensive (I nearly wrote very interesting) “World Dictionary of Pasta Shapes and Names”.


Cooking

Notably, above there is no salt included in the pasta mixture. The only salt that you use should be added during the cooking. Boil plenty of water, add salt and return to the full boil. Put all of the pasta in at one go, return to the boil (use the lid to hasten the return) and cook uncovered.

Cook until the pasta is al dente, with bought pasta this is usually signified by the fact that no white remains when you bite into the pasta. For homemade pasta this will not work. The pasta will never be as firm or chewy as bought. When the pasta floats and still offers some resistance, it is ready (2-3 minutes).

Related and next on the cards for pasta making, it’s going to be Japanese Noodle Making…

Technorati Tags:

Wednesday, August 10, 2005

Home Alone 3: Real Men Don't Eat this simply delightful Smoked Salmon and Shallot Quiche

Smoked Salmon and Shallot Quiche


Day 4 of Blanca’s trip to Spain. I’m a changed man, I must have cycled 100 miles since she left, blogged & cooked regularly and eaten all my fruit. The only signs left of my manhood are the fact that I’m leaving the bed unmade in the morning and refusing to clean the kitchen floor. Even when I try and assert my masculinity, I end up co-opting Simon into going to what, to all intents and purposes, appears to be a lesbian gig on Thursday (does anyone know “the organ” from Vancouver? Please don’t comment about the name, apparently the music is good).

God, I hope that Blanca doesn’t read this. She’ll be pissed that I haven’t cleaned the kitchen floor.

Some people say that real men don’t eat quiche. Well to prove them correct, here is a great recipe for Smoked Salmon and Shallot Quiche that I cooked last night. It is from my book of the moment; “fish”. I think this is the third blog in recent weeks from “fish”. I need to stop, I’m in danger of infringing their copyright. I think a spell of cold turkey would be appropriately horrifying to fish lovers.

Ingredients for shortcrust pastry (thanks to Books for Cooks cookbook)
175 g plain flour sifted
A pinch of salt
90 g of very cold butter, cubed
3 tbsp very cold water

I “scienced” myself out yesterday on my rice blog. Luckily I have already discussed the science behind shortcrust pastry. Check it out, interesting stuff, it puts all of the instructions into context beautifully.

I’m scared of hot hands so I use a food processor for the pastry mixing. Aerate the flour and salt with a few pulses. Add the cubed butter and pulse until the mix resembles breadcrumbs. Add the water (some people add egg, but I think it produces overly hard pastry) and process until the pastry just draws together. Turn this onto a lightly floured worksurface (marble best for the temperature) and knead into a ball.

Satisfaction delivered by a rolling pin.

Butter and refrigerate the baking tin. Be careful not to over handle the pastry (it gets emotional). Roll it out into a thin flat about 5cm larger than your tin. Wrap the pastry over the rolling pin and unroll over the top of the tin. Work the pastry into the tin. Then, the most satisfying action in cookery; roll the pin over the top of the tin in order to remove the excess pastry. I don’t know why I like this so much, but it is really very satisfying.

Refrigerate the pastry for at least half an hour. Keep any excess pastry in case you need it later to fill in imperfections (just misunderstood perfections).

Baking blind and showing your wealth... can two things say more about a person?

Bake the pastry blind. Heat the oven to 190 C. Line the chilled pastry case with baking parchment and fill with backing beans. Blancs showed me a very retro method for this. Rather than using the conventional baking beans, demonstrate your wealth and sophistication by using the pennies from your piggy bank.

Cook for about 10 minutes. Remove the coins and use to pay at your local large, impersonal supermarket while still hot… I bet they still take the cash. Cook for another 10 minutes or so, until a light biscuit brown.

Ingredients for the filling
110 g shallots, sliced
60 g butter
3 egg yolks
225 ml crème fraîche
1 tbsp chopped fresh dill
finely grated zest of 1 lemon
110 g smoked salmon, in thin strips
salt and pepper

Cook the shallots in the butter until translucent, without browning (this is sauté… no?). Beat the remaining ingredients together. Once the pastry case is cool, distribute the salmon and shallots. Pour the cream. Cook for about 30 minutes, until just set. This can be served warm or cold, in my case, warm and reheated.

I’m off now to start a fight in a bar and wake up tomorrow without my clothes.

Technorati Tags:

Tuesday, August 09, 2005

Home Alone 2: Risotto & Rice 101

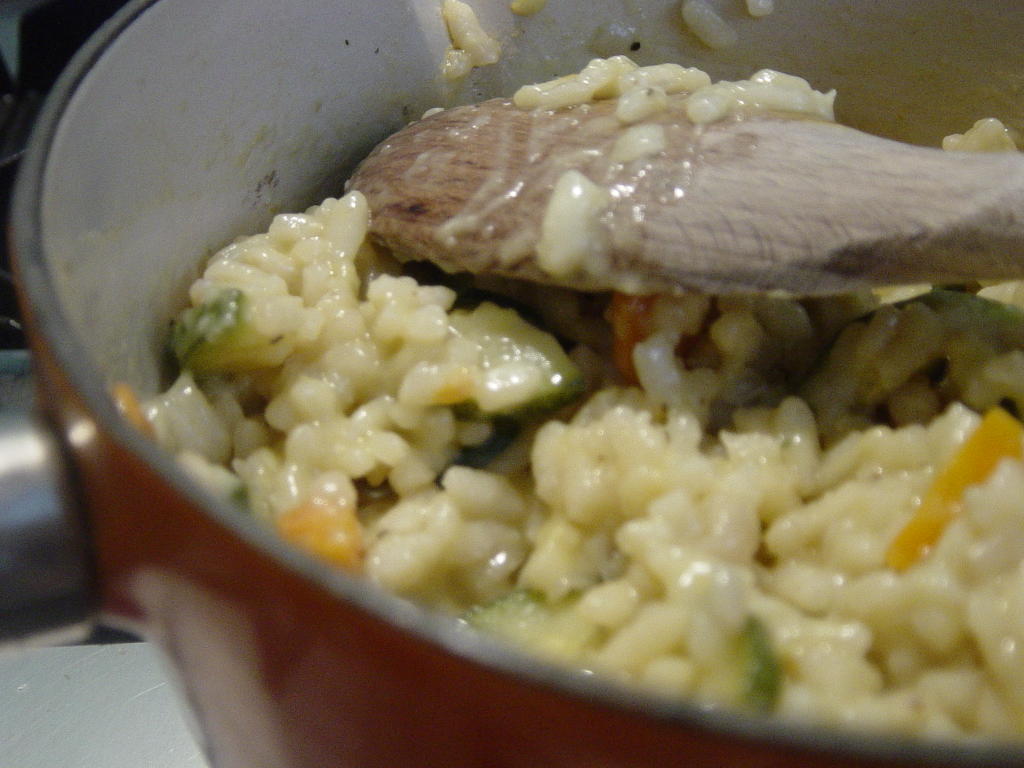
Courgette and Carrot Risotto


This blog comes inspired by The Sunday Times “Style” supplement from last... Sunday, which had a recipe for Courgette-Flower Risotto. It was sufficiently inspirational to make me want to eat risotto, but not enough to get courgette flowers… ah well; you can’t have everything all the time.

I have cooked risotto many times before with Blanca and have a basic understanding; sauté the onion, cook the rice until translucent, add the stock one ladle at a time until it is all absorbed. I didn’t know the answers to some basic questions, such as: what's the difference between “risotto rice” and others, why the convoluted cooking process etc. Sounded like a good idea for a blog… Below you'll find my Rice 101

Ingredients (serves 2 as a main)
1 courgette, chopped
2 carrots, chopped
1 litre chicken stock
1 pinch saffron threads
Olive oil
Butter
½ onion, finely diced
200 g Arborio rice
75 ml dry white wine
15 parmesan cheese, grated

Melt the butter with olive oil in a large, heavy saucepan over a low heat. Add and cook the carrots, onions and courgette until soft. It is obviously best to cook the carrots slightly longer. Increase the heat and stir in the rice. Stir the rice (about 3 mins.) until a white dot remains in the centre of each grain. Add the wine and continue stirring until all is absorbed.

During this time, keep the stock (with crushed saffron) simmering. Start adding to the rice, ladle at a time, waiting for absorption to complete before adding the next. Continuous stirring is required, this unique method abrades the rice and removes the starch from the plant into the liquid to produce a creamy consistency. The evaporation of the stock means that more is required, thus producing a more concentrated flavour in the dish. All recipe books are in agreement of the “magic 20 minutes” required to cook risotto. The clock starts from the point of adding the first ladle of stock.


When ready, the rice should be tender, but still firm to the bite. Take the risotto off the heat. Fold in the parmesan and season according to taste. As you will see below, risotto is suitable for reheating. In fact, many restaurants prepare the labour intensive dish upfront and reheat. This is not necessarily “best practice”, but is a useful cheat.

The science…

Brief History of Rice[i]

Rice has been cultivated in Asia as early as 3500 BC, Alexander the Great is credited with having introduced it to the Western world about 335 BC. The Moors planted rice in Andalucia (in gratitude the Spanish kicked them out), Spain in the eight century AD and by 10 AD it was being cultivated in Italy.

Types of Starch[ii]

I thought this section would be called “types of rice”, but it turns out that we need to know about starch before we can know anything about rice. McGee explains how grains and legumes contain a heap of starch and this plays a large role in the texture of the cooked end product and their products.

Plants store glucose as starch in two different forms: amylose and amylopectin. Amylose molecules are structured and ordered; they’re made from about 1,000 glucose sugars and are mainly one extended chain. Amylopectin is an unruly molecule; it is made from 5,000 to 20,000 sugars and has hundreds of short branches. Cooking starch is all about the application of steam or boiling water in order to break down the cell walls and free the starch. This process converts solid starch into starch-water gel (hence it’s called gelation). The ordered clusters of amylose require more heat and water in order to break them apart.

Other amylose traits (amylopectin tend to exhibit the opposite)[iii]
- it is a more effective thickener,
- the gel tends to be opaque,
- sauces made from amylose tend to not freeze well,
- amylose based sauces tend to thicken at a higher temperature

Types of Rice

The rice lineup (from left to right): long-grain basmati rice, medium-grain arborio and short-grain sushi rice.

There are more than 40,000 varieties of rice, but we can break these down. All rice contains at least 70% amylopectin (making them sticky), but some contain more. The different types of rice are judged on their relative amounts of amylose and amylopectin. There are two sub-species of Oryza sativa. Indica rice are grown in the lowland tropics, they produce a long, firm grain that is rich in amylose starch. Japonica is the other rice, it is found in the upland tropics and temperate climates (Japan, Italy and California). It contains less starch and produces a shorter, stickier grain. There are 3 broad types of rice; long, medium and short grain.

Long-grain rice (aromatic rices such as basmati, patna, Thai fragrant and Jasmine) are 4-5 times long as wide and high in amylose. They cook separate and fluffy (due to less amylopectin) and cool hard due to the setting of the amylose. It is predominantly used in savoury dishes; pilaffs, curries etc. The fact that long-grain cools hard means that it is generally unsuitable for salads and sweets, this can be countered if mixed with a dressing while still warm.

Medium-grain rice is predominantly grown in the temperate zones mentioned above. It is higher in amylopectin and does not harden when cooked and cooled. This is a favourite for the Italian risotto and Spanish paella. As noted above, the quantity of amylopectin in medium-grain rice makes it quite amenable to reheating.

Special mention to the Mr. Risotto. This is a fat variety of medium-grain rice. It typically has an small area of underdeveloped starch in the center which, combined with the cooking method keeps the center hard whilst the rest is creamy. This produces the famous "risotto bite".

Short-grain rice (aka sushi rice) is only a little longer than it is wide; it is high in amylopectin and cooks soft and sticky. Due to the fact that compact moist grains stick together, they are a preferred when eating with chopsticks. There is an extreme version of short-grain rice called sticky rice (glutinous rice); this is used in East Asian dishes and desserts.

Cooking Rice

There are two methods of cooking rice[iv]; the boiling method and the absorption method. From what I can tell, risotto is neither of these (I guess that means there are 3 methods of cooking?) I’ll do practical examples of the other two later.

All this talk of rice has made me miss Japan, I always wanted to go to a paddy field in Japan. I never made it, but Taro gave me some informal classes. The kanji for paddy field is , pronounced “ta”. This is a kind of ideographical word as it looks somewhat like fields from the air… It also forms one of the most common names in Japan (words taken from nature form 30 of the top 100 names in Japan).

Endnotes & acknowledgements:

[i] Stephanie Alexander “the cook’s companion”
[ii] Harold McGee “McGee on Food & Cooking: an encyclopaedia of kitchen science, history and culture”
[iii] Shirley O. Corriher “Cookwise”
[iv] Leiths Techniques Bible

Technorati Tags: